Git is a free and open-source distributed version control system created by Linus Torvalds in 2005. Its features include support for distributed, non-linear workflows, branching, pull requests, merging, tracking history, and a very easy learning curve.
GoDaddy VPS is a shared server that provides computational services, databases, storage space, automated weekly backups, 99% uptime, and much more. It’s a cheaper alternative to some popular cloud-based services such as AWS, GPC, and Azure.
This article will discuss how to install, configure and use git on GoDaddy Server.
Installation
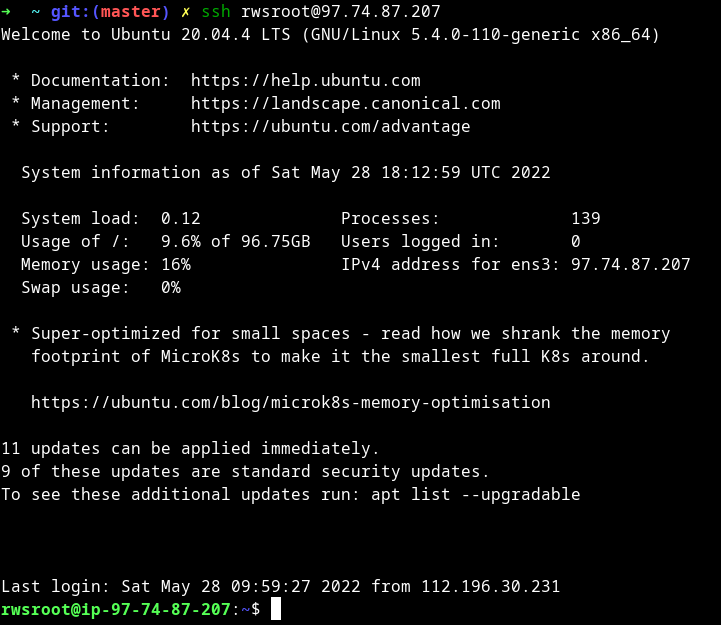
Step 1: Enable ssh into your GoDaddy VPS.
$ ssh user@ip
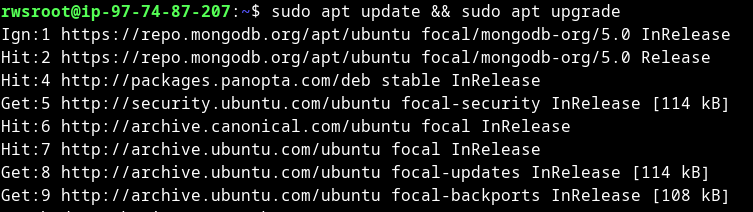
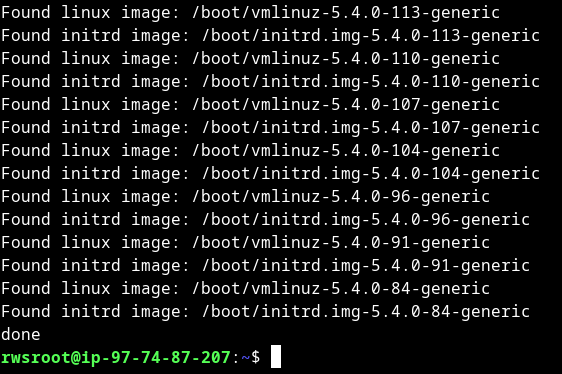
Step 2: Before installing mongo, update and upgrade your server.
$ sudo apt update && apt upgrade
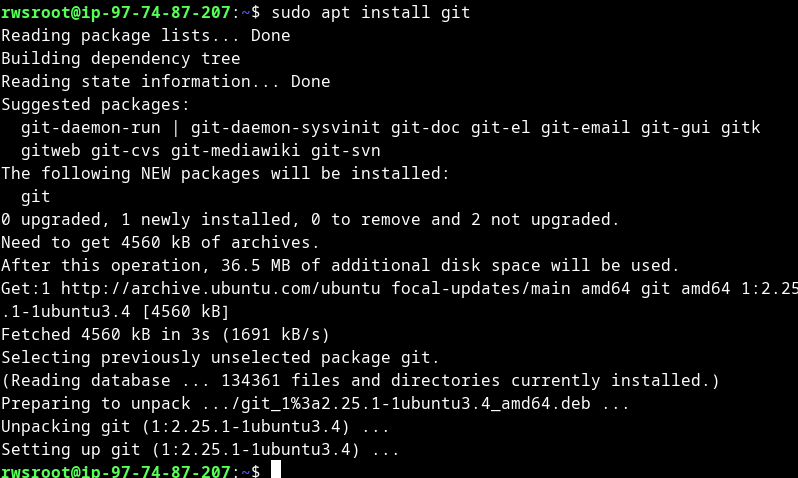
Step 3: Install git from the apt package.
Step 4: Verify the installation by running
$ git –version

Configuring and using GIT
Step 1: Update git configuration settings by adding your email and username to the commit.
$ git config –global user.email “email”
$ git config –global user.name “username”

Step 2: Generate a personal access token by visiting https://github.com/settings/tokens. Make sure to give the required privileges to the token. You can also refer to Using GitHub with SSH for a more clutter-free experience while pulling and pushing changes.
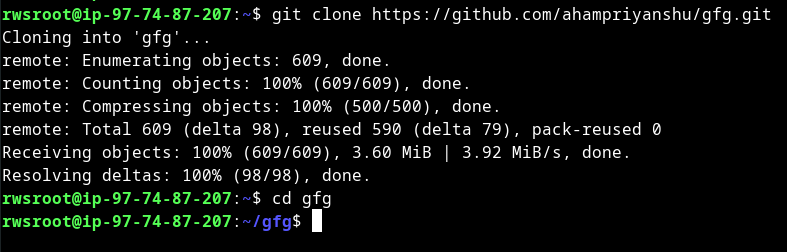
Step 3: Clone the repository using ssh if you have added the ssh key to your GitHub/GitLab account, otherwise use HTTPS.
$ git clone <repo_url>
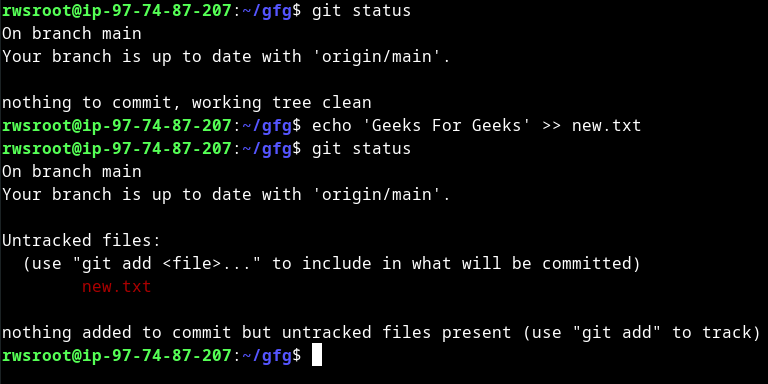
Step 4: Now, you can create, update or delete any file in our cloned repository. But for now, I am creating a simple text file. You can track the changes using the git status command.
$ echo’Geeks For Geeks’ >> new.txt
Step 5: Commit the new file and push the changes to the main branch.
$ git add .
$ git commit -m “relevant message”
$ git push origin branch_name

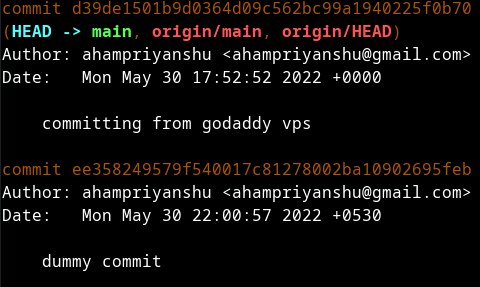
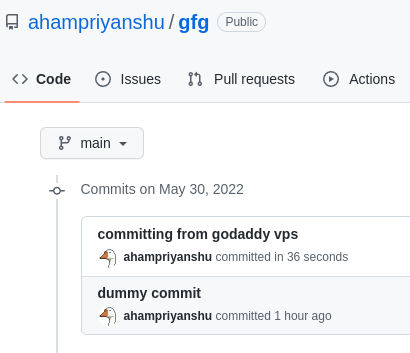
Step 6: Verify the commit in the git logs or by viewing commit history on Github/GitLab.
$ git log
Note: You can also visit the List of useful Github Commands for a better understanding of git workflow